Note on 07/20/2016: This post was written about 4 years ago, in July 2012. Our project has come a long, long way since then. Yet, this post and a number of others from 2012 through 2015 never got published because I was so busy. I’m going through now that we’ve wrapped up much of our landscaping work and updating the site with this content, and dating it appropriately for when it was written and should have been published.
———————–
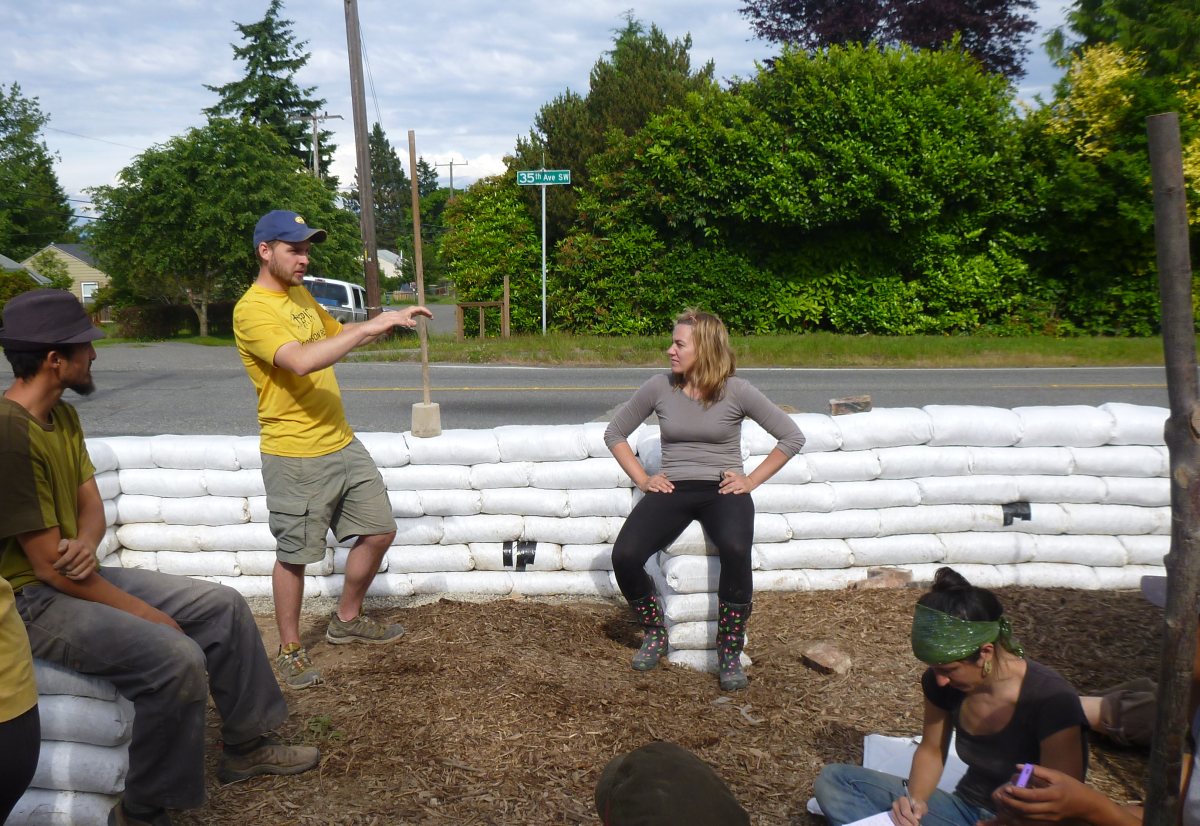
Two weekends ago (June 2012) we held an Earthbag Building Workshop with Scott Howard of Earthen Hand. It turned out to be an excellent weekend of work and learning. Over the course of 2 days, 16 workshop attendees including us were able to learn earthbag building basics and complete about 20% of our overall wall project. Despite some nasty rain as we started working on Saturday, we finished roughly 50 feet of wall, 3 feet high (the finished wall will be about 120 feet long, and 6 feet high). Here’s a quick photoset of the weekend with some notes:
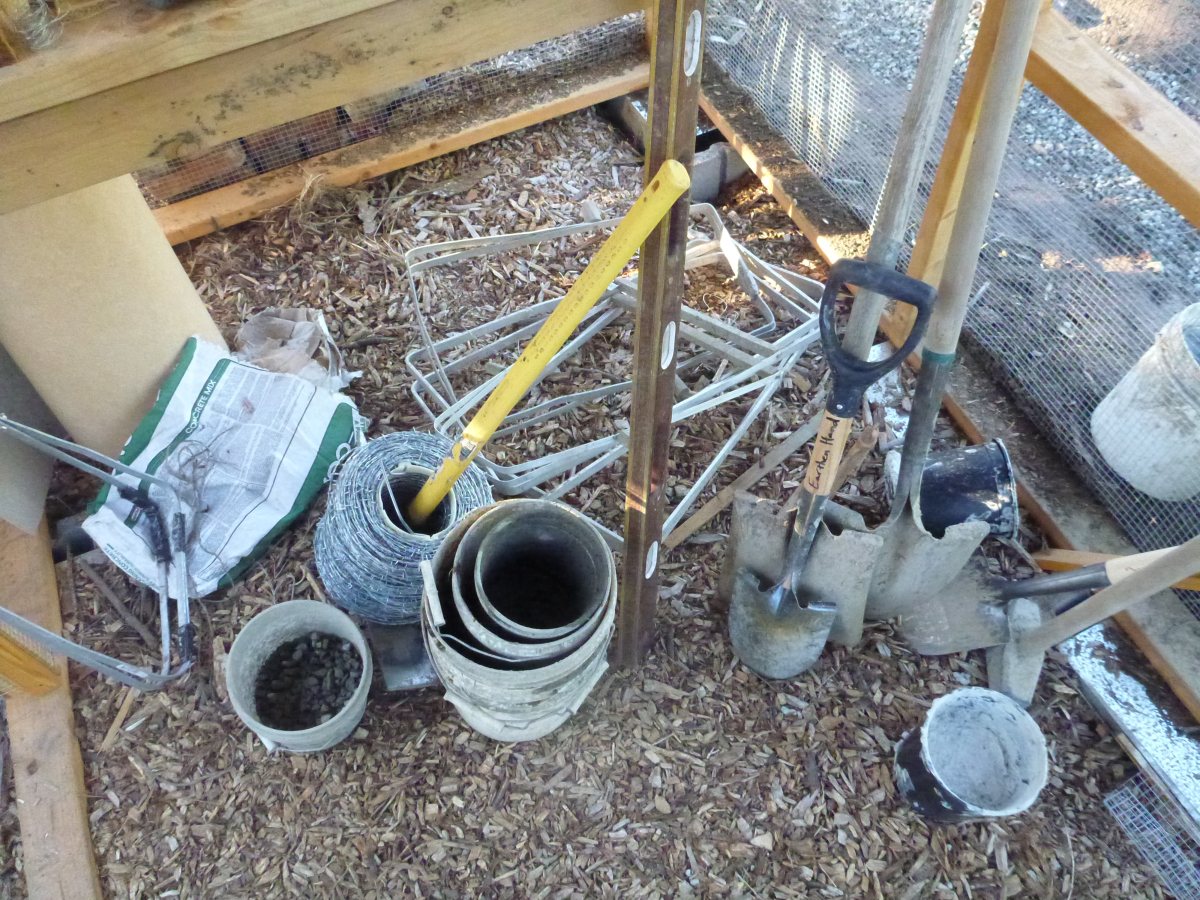
Assembling Our Tools
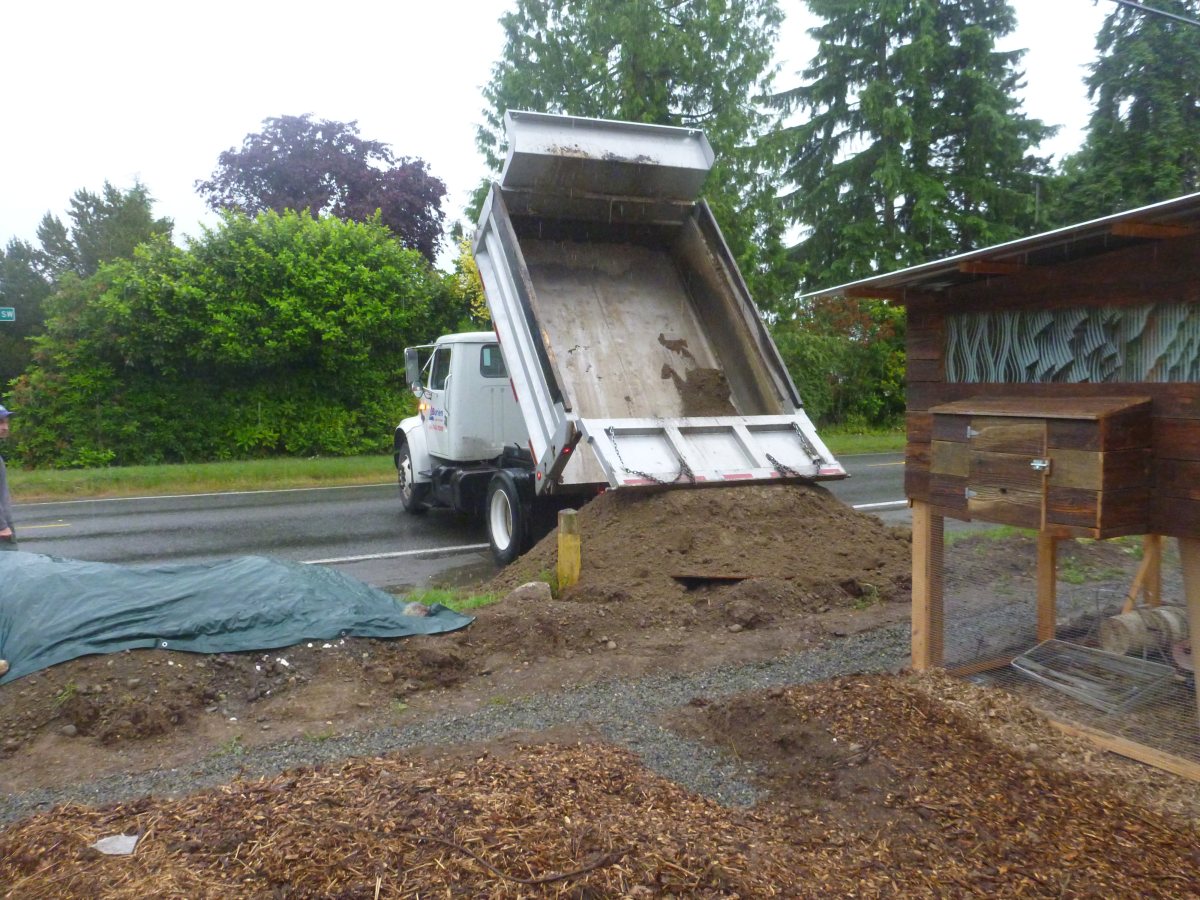 Getting clay-heavy fill dirt delivered before the workshop – this was mixed with 5/8″ Minus gravel to form the earthbag mix.
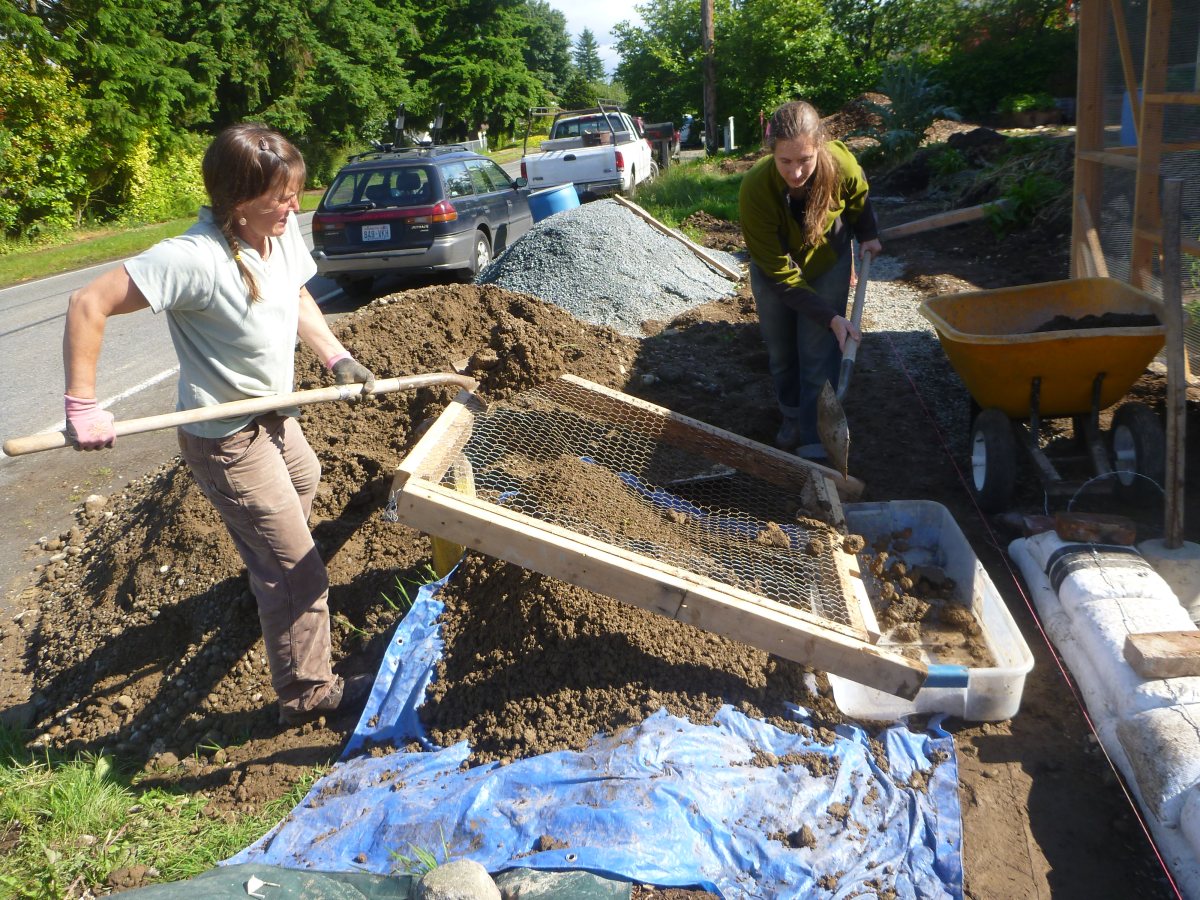 Screening the Fill Dirt down to 1″ – if we didn’t do this the larger rocks could break our tampers later on, and the bags wouldn’t have as much structural strength. If you make your own screen I highly recommend adding metal corner braces in addition to long screws – it helps a lot!
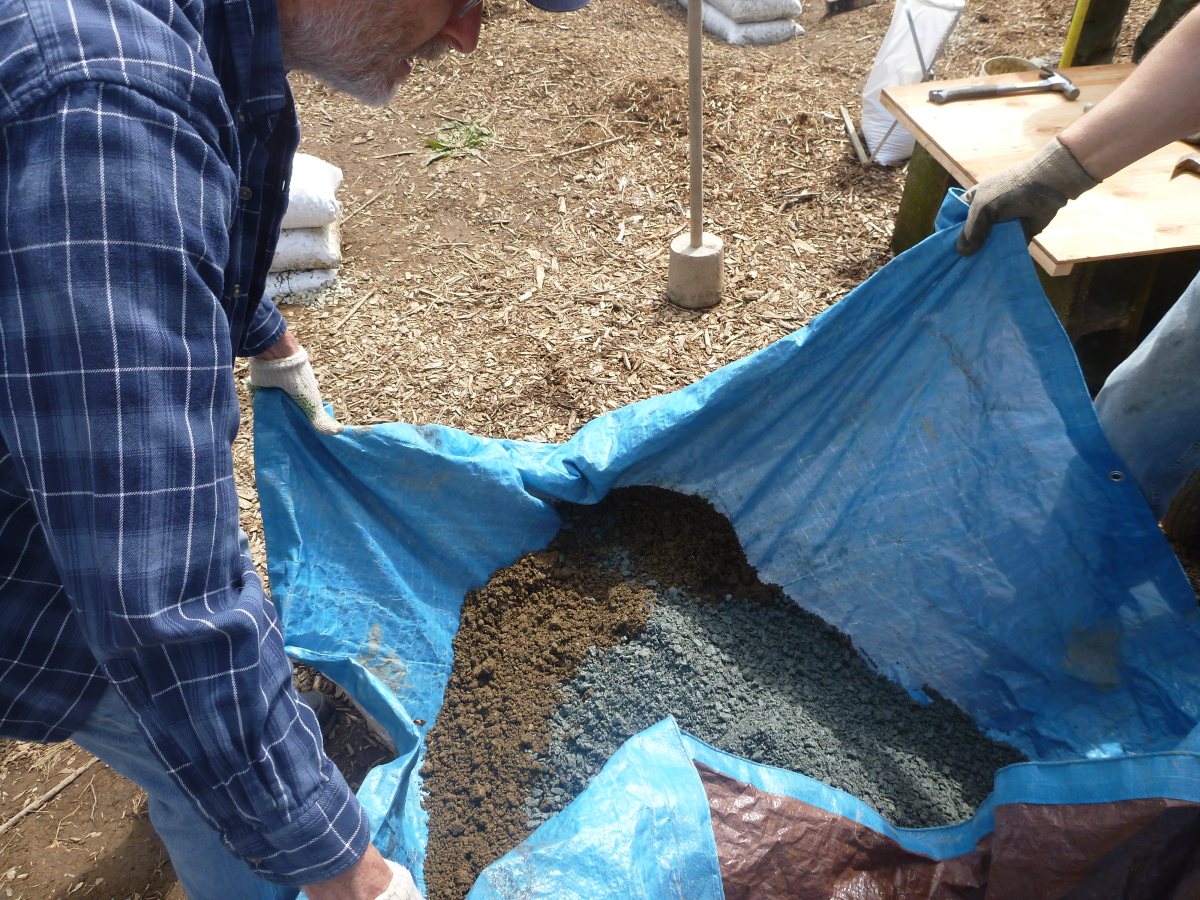 Mixing the earthbag fill of clay and gravel – Get everything onto the tarp and have one person on each side of the tarp
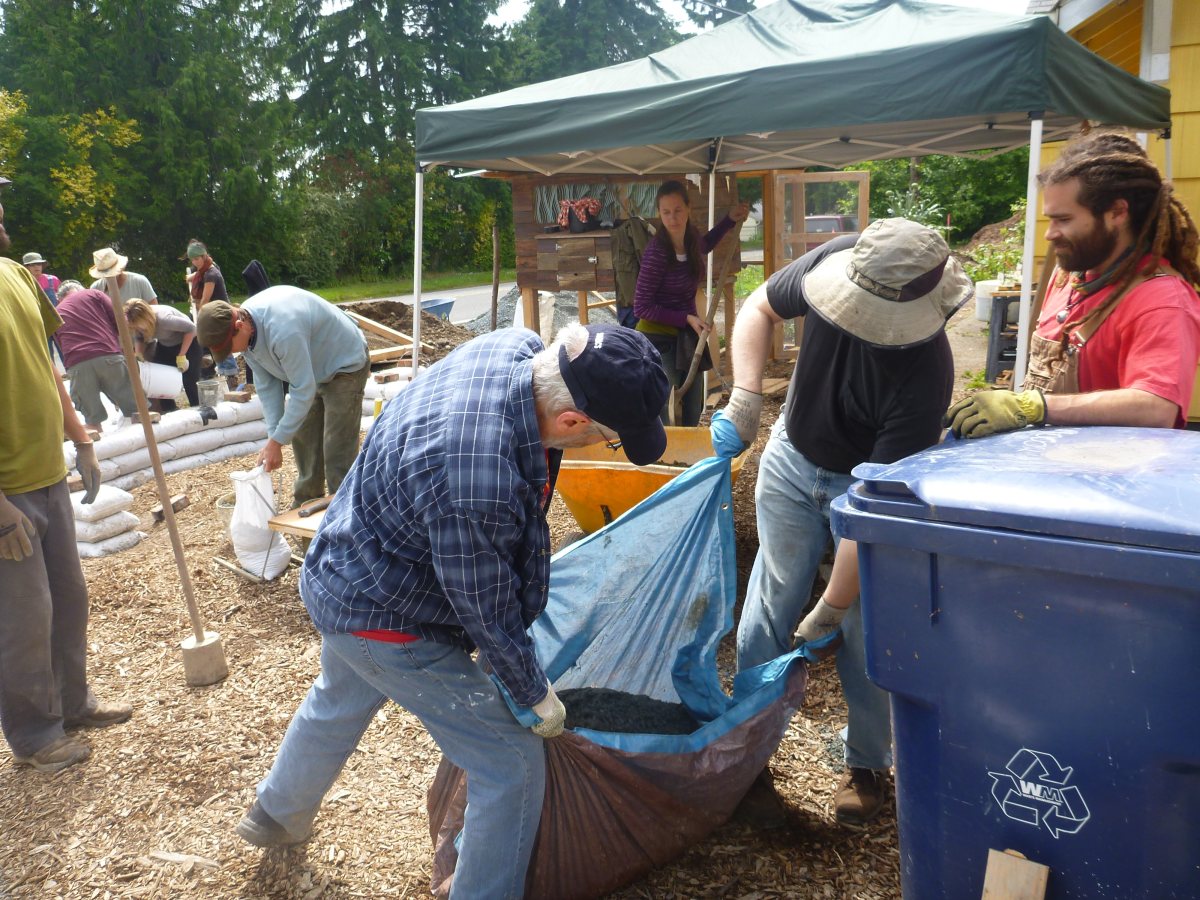 Mixing the earthbag fill of clay and gravel – At this point we do the Electric Earthbag Slide: “Sliiiide to the left. Sliiide to the right. No hops this time, keep sliding.”
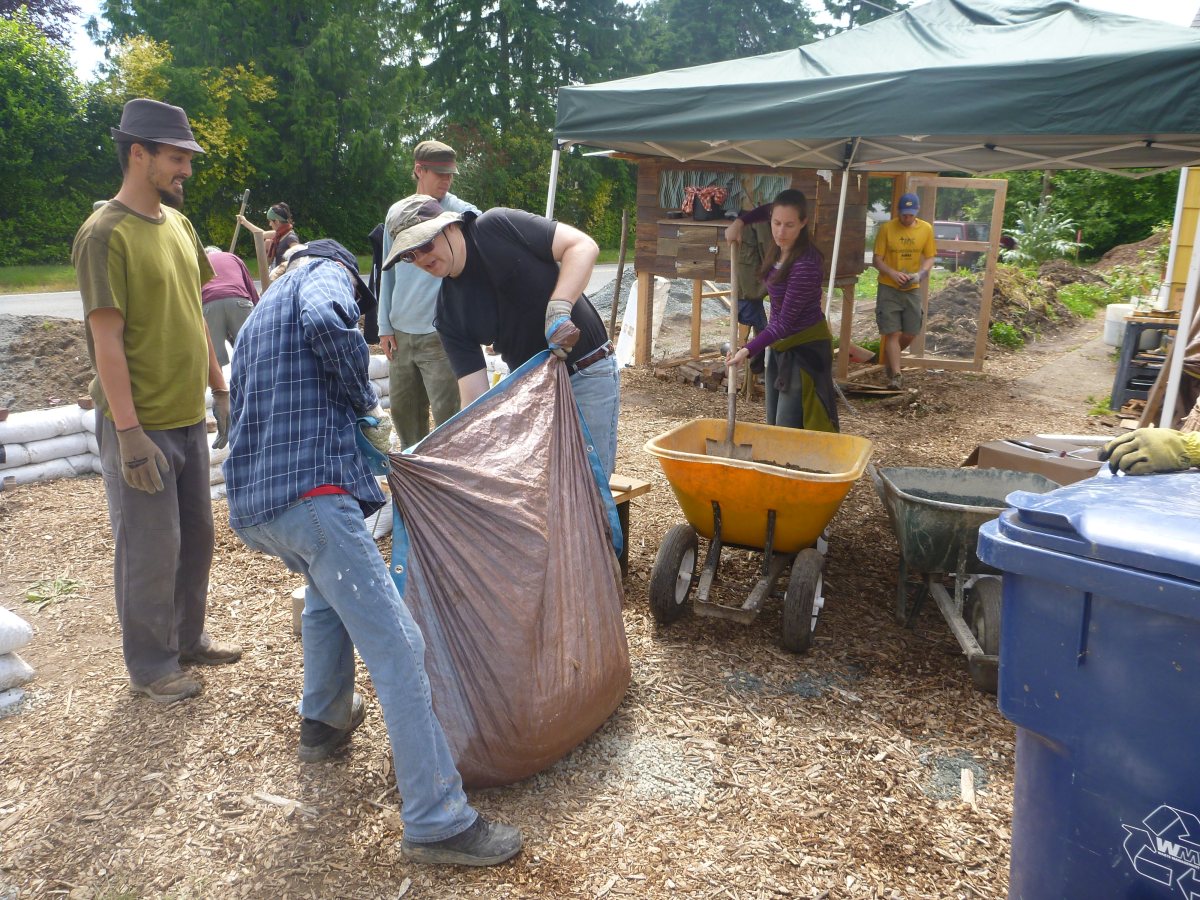 Electric Earthbag Slide Part 2: “Now Charlie Brown!”
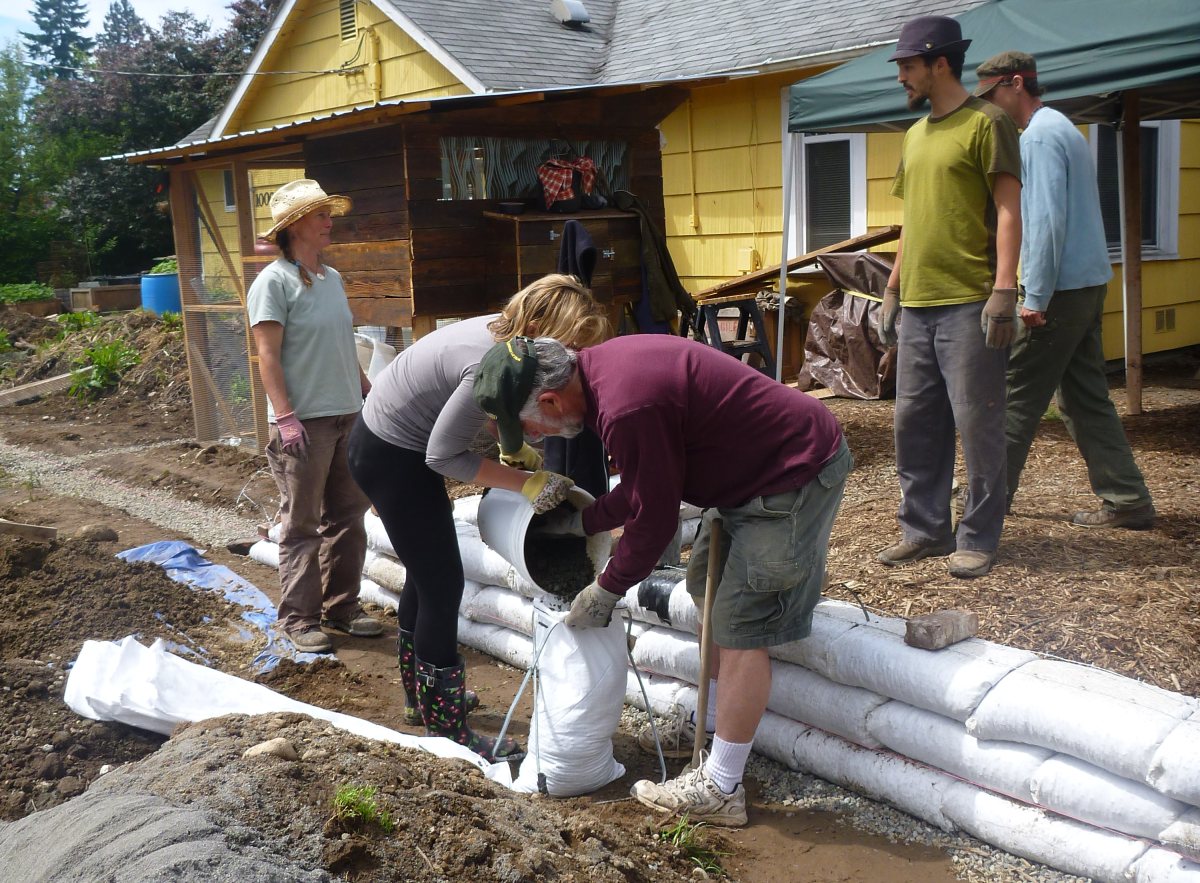 Filling Bags on Bagstand – Once the earth fill mix is completed you can get the bag onto a bagstand and begin filling. Partway through each bag we do a vertical tamp to make sure the bag is filled tightly.
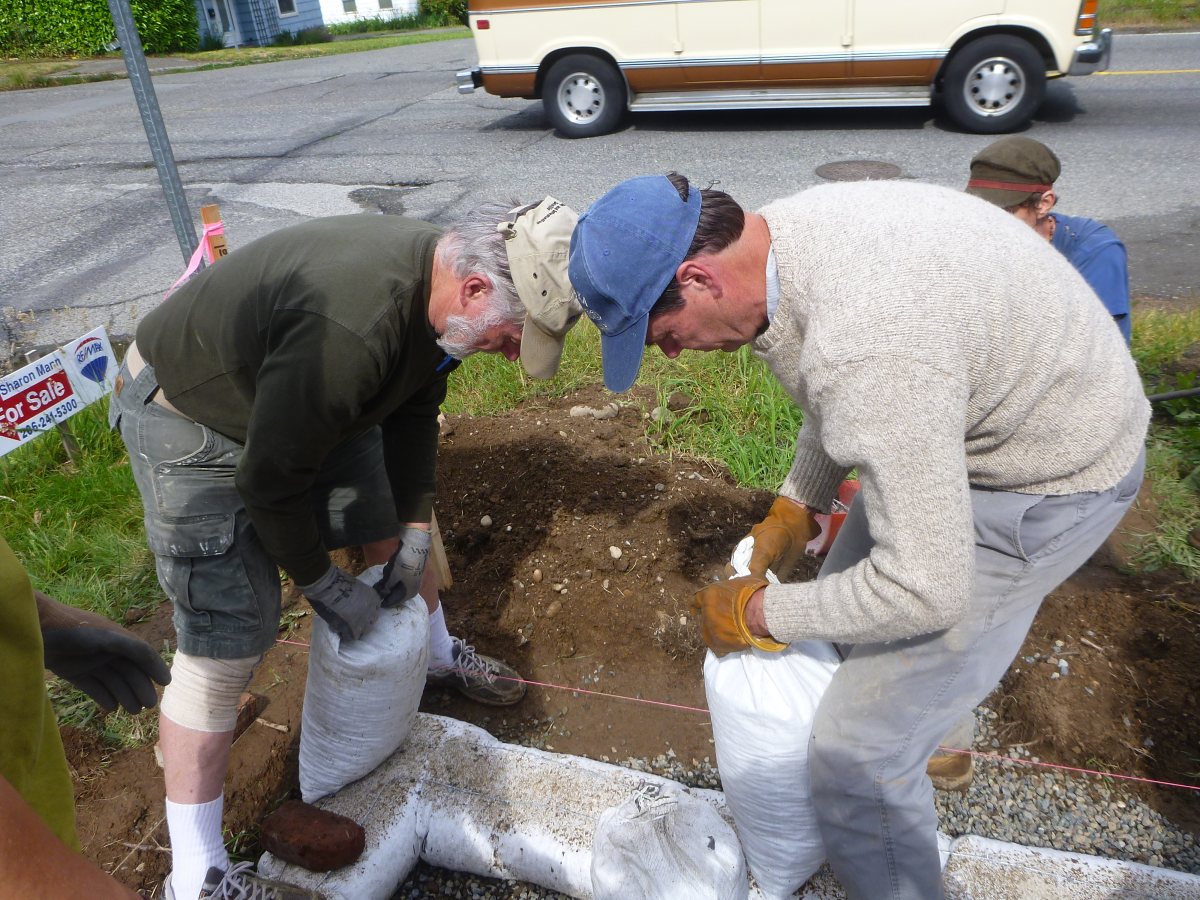 Starting an Earthbag Row – When you start a row you place two bags at the same time, with their seams facing each other. After that, all subsequent bags can have their seam facing the prior bag.
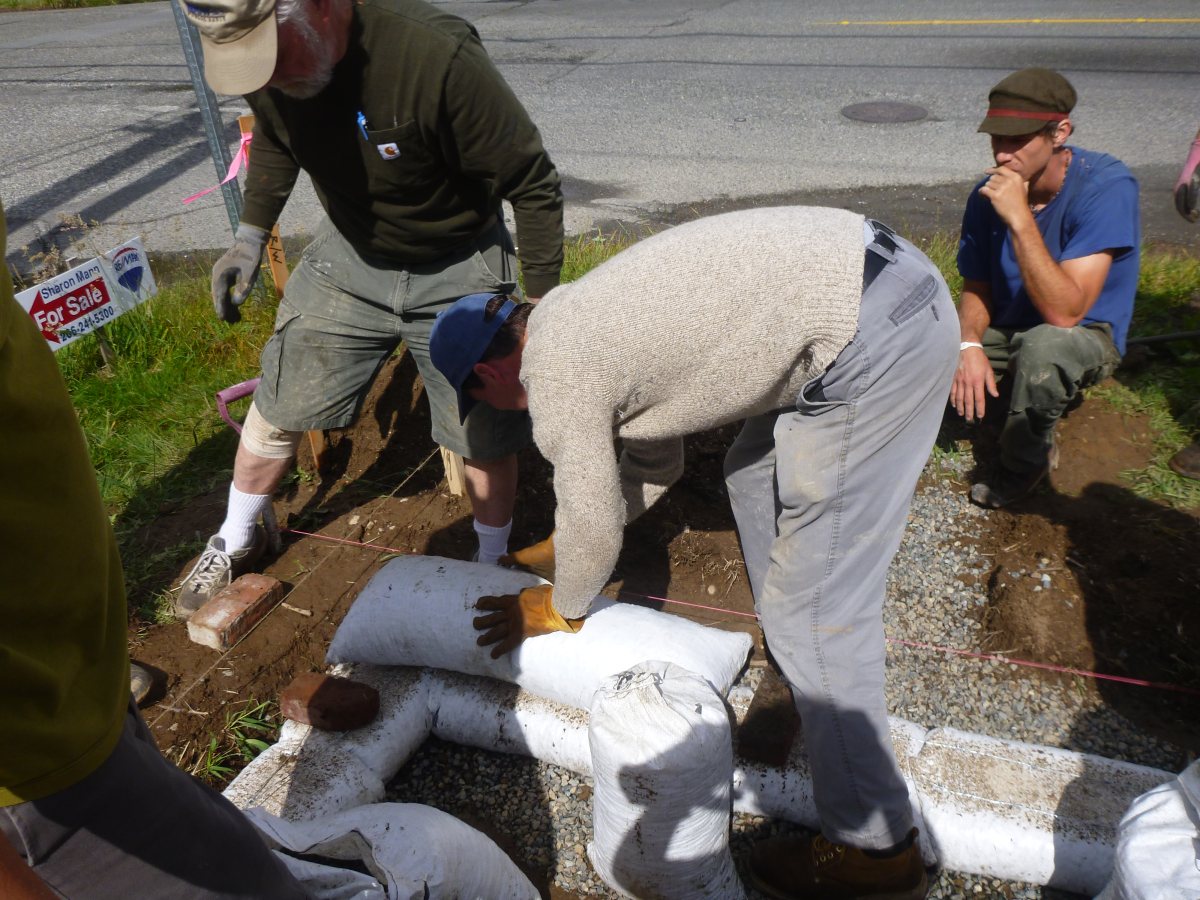 Starting an Earthbag Row – The first 2 bags are dropped into place facing each other like this.
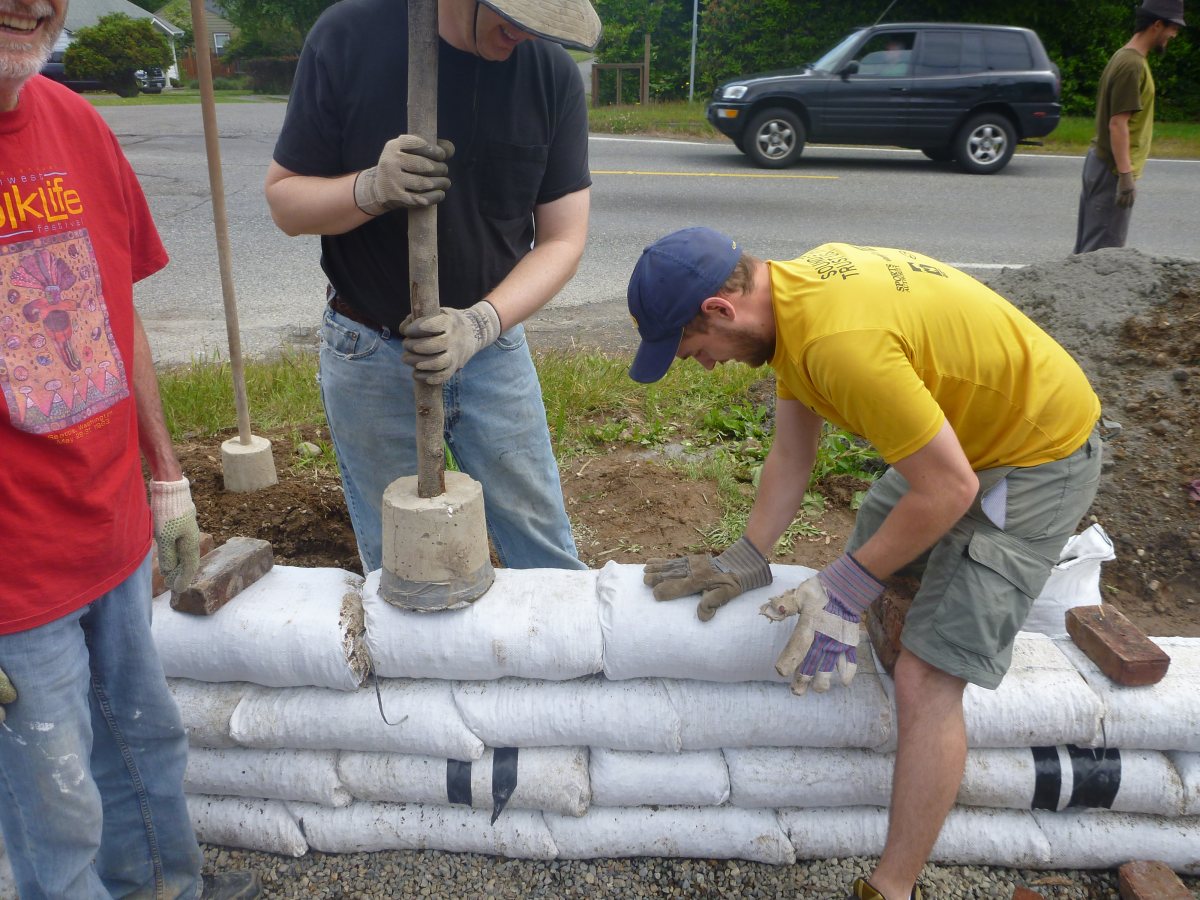 Adjusting a row – You want to get all of your bags placed well the first time, but that said there are always mistakes. Fixing them is usually as easy as lifting and replacing the bag, or hitting it with the tamper to move it in another direction
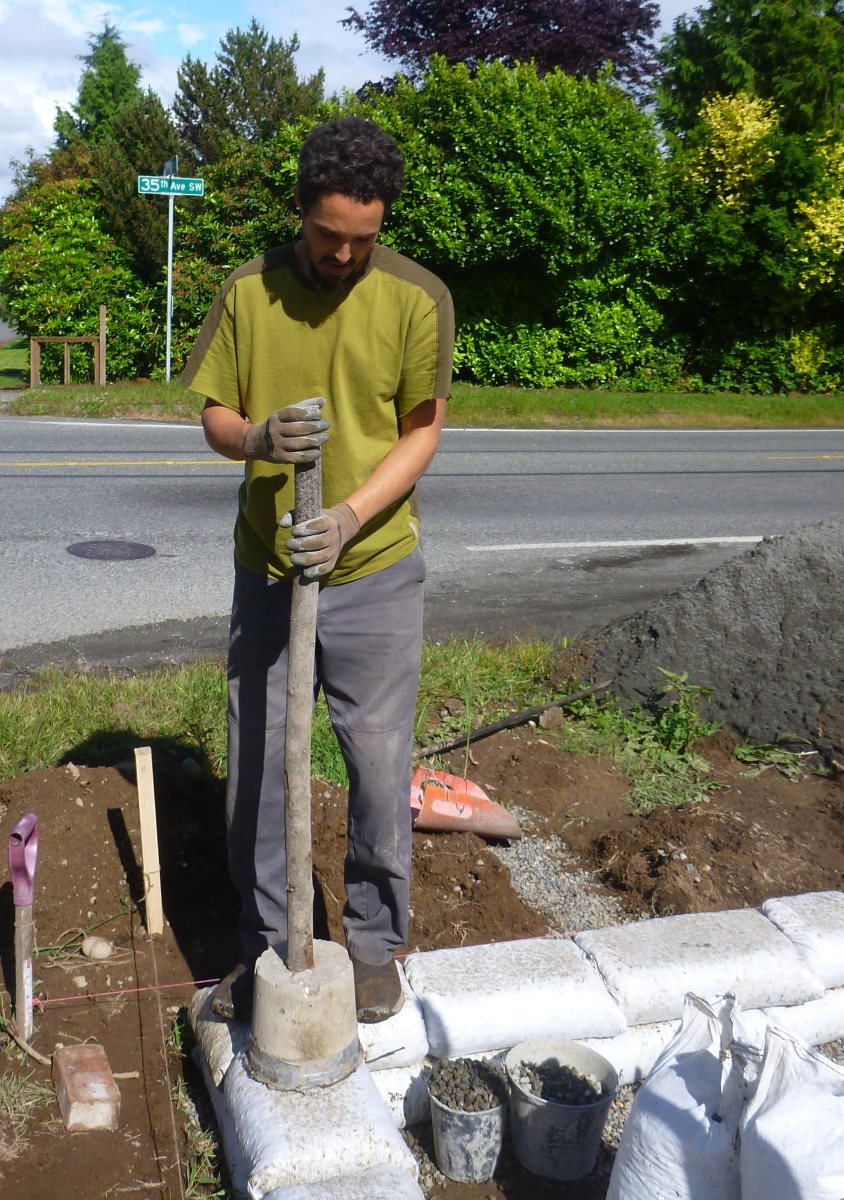 After an entire row of bags is laid into place, we all tamp the bags really hard so that they (A) flatten out and (B) lock into the barbed wire below and to the other bags in that row. After we had finished tamping, Scott Howard would come through to give his “Tamp of Approval”
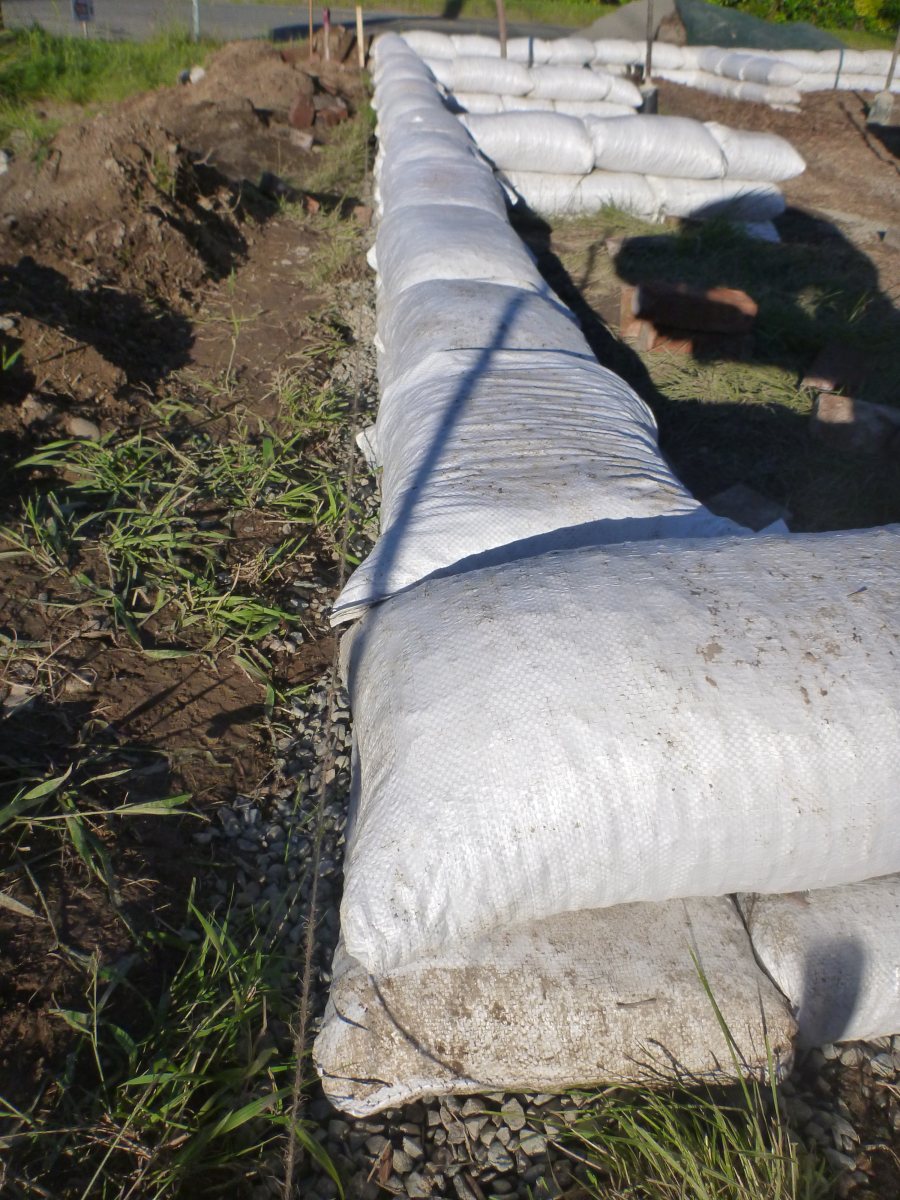 You’ll want to check for a straight line *before* you lay the second row of bags.
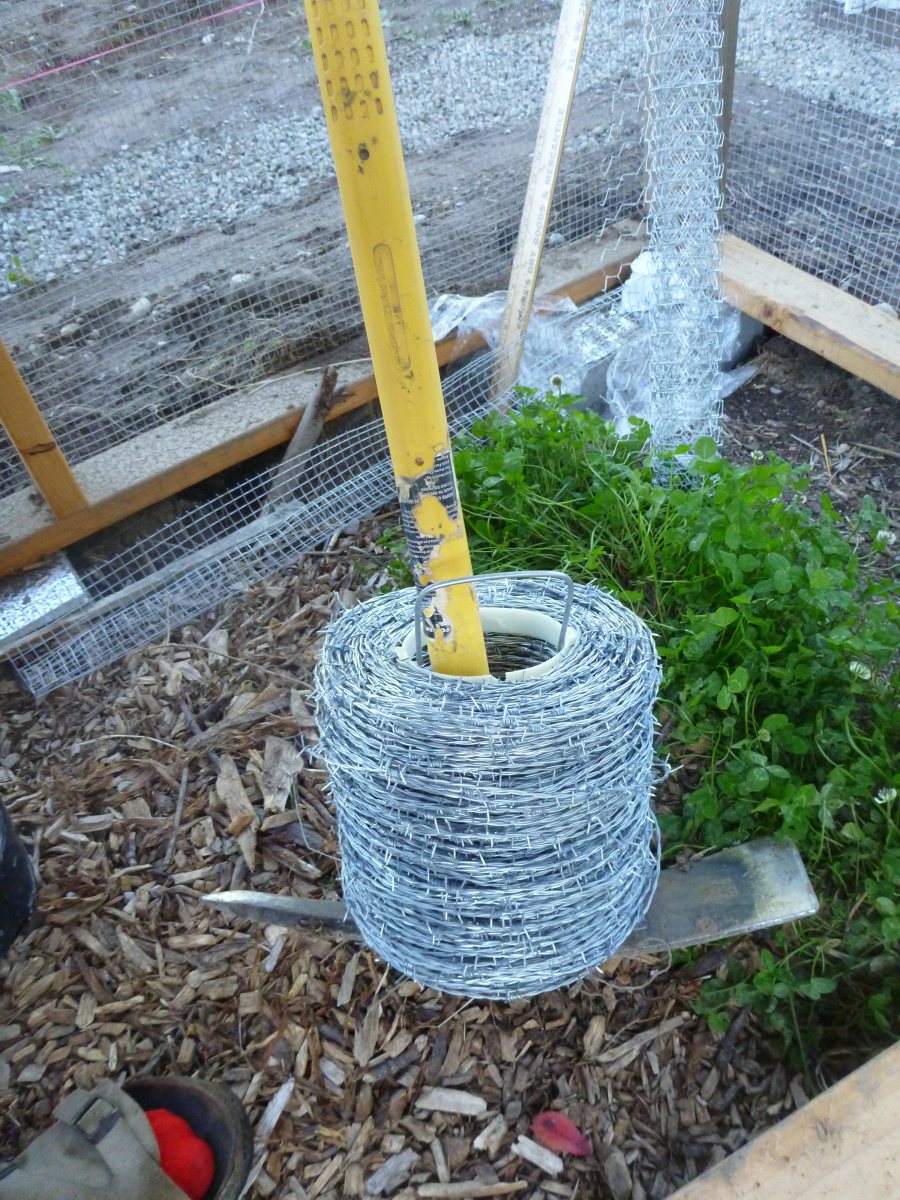 Once the entire row of bags is tamped, it’s time to lay down 4-prong barbed wire on top. The barbed wire acts as a mortar and prevents the bags from moving horizontally. An easy way to roll out the barbed wire is to put it on a pick-axe like in this photo.
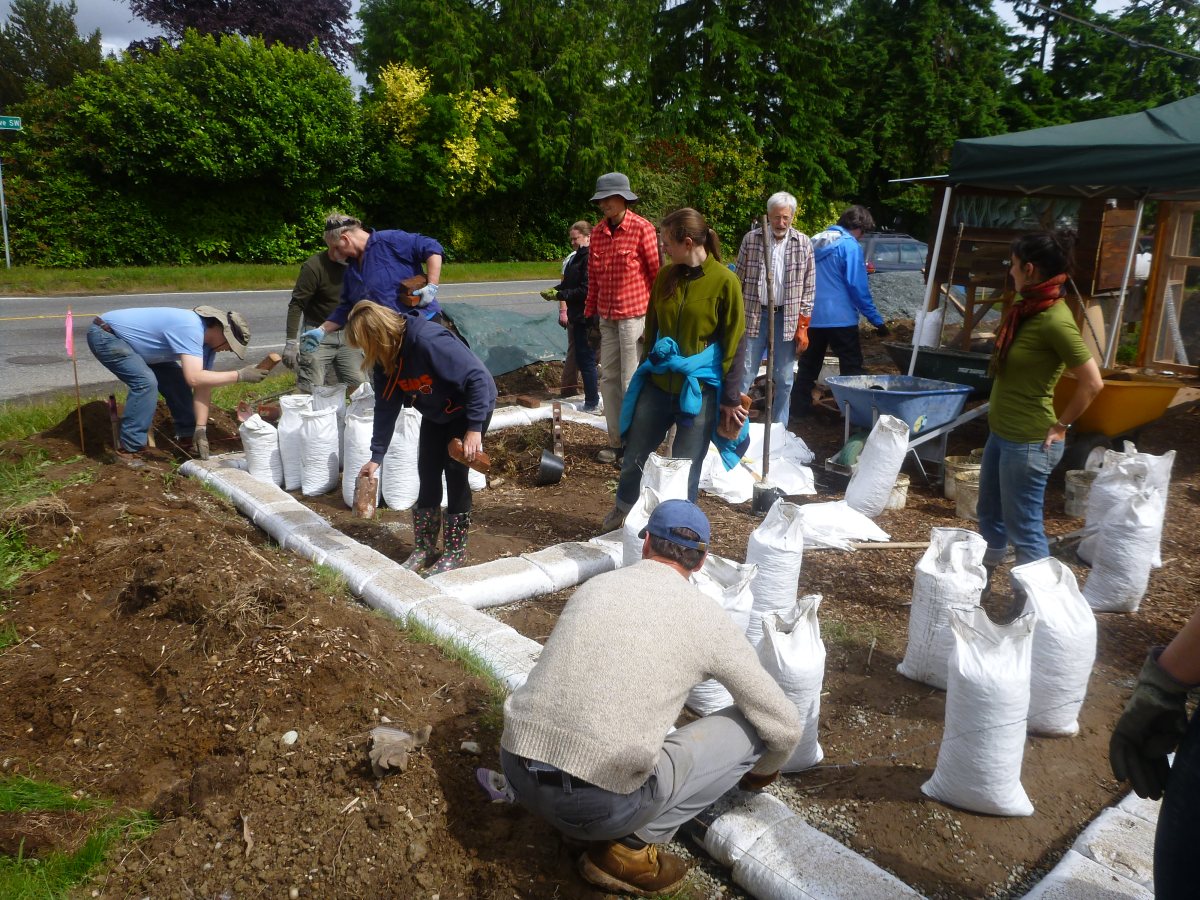 Laying Barbed Wire – While it’s not too hard to lay barbed wire with one person, it’s fun to do it with 8 people, too.
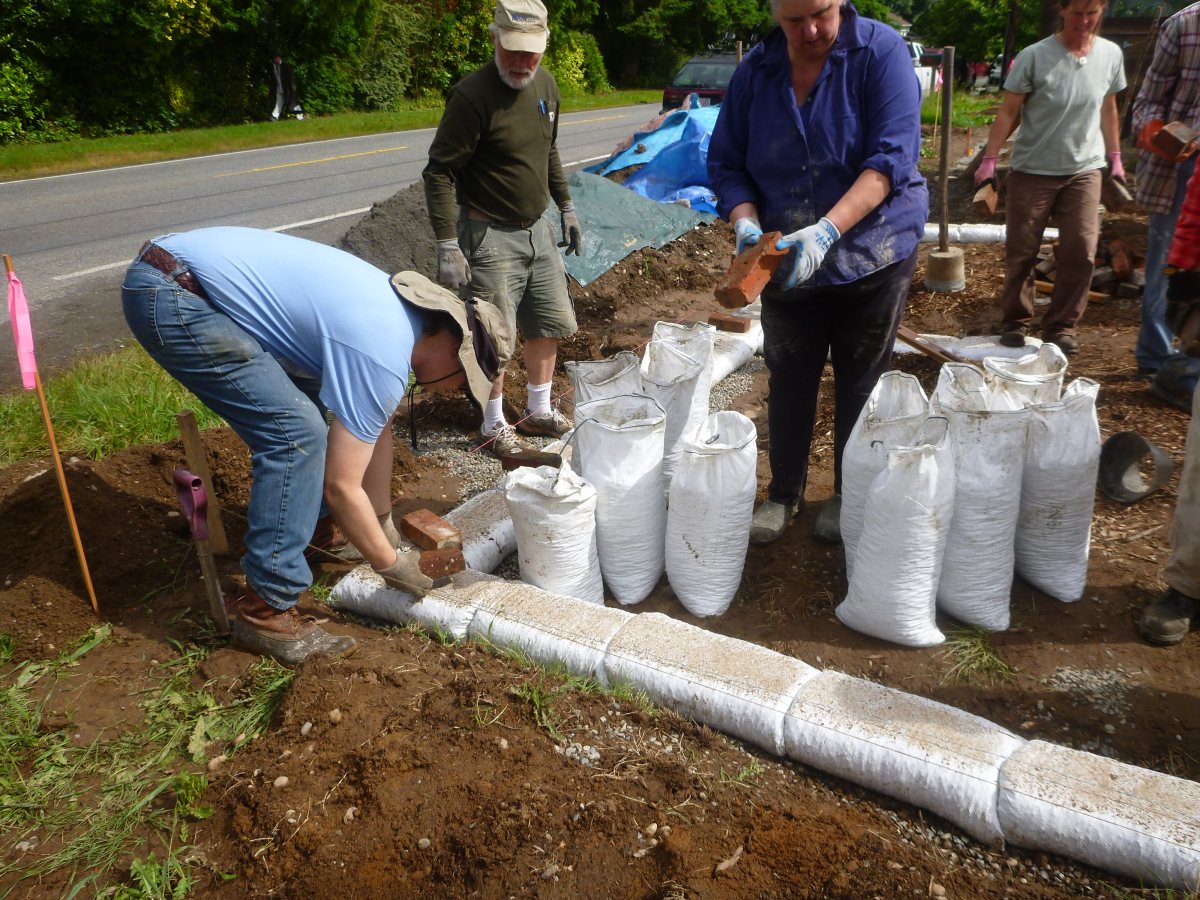 When laying barbed wire, we lay two rows down the center of the bags. Each strand of wire is about 1/3 of the way from the edge of the bag.
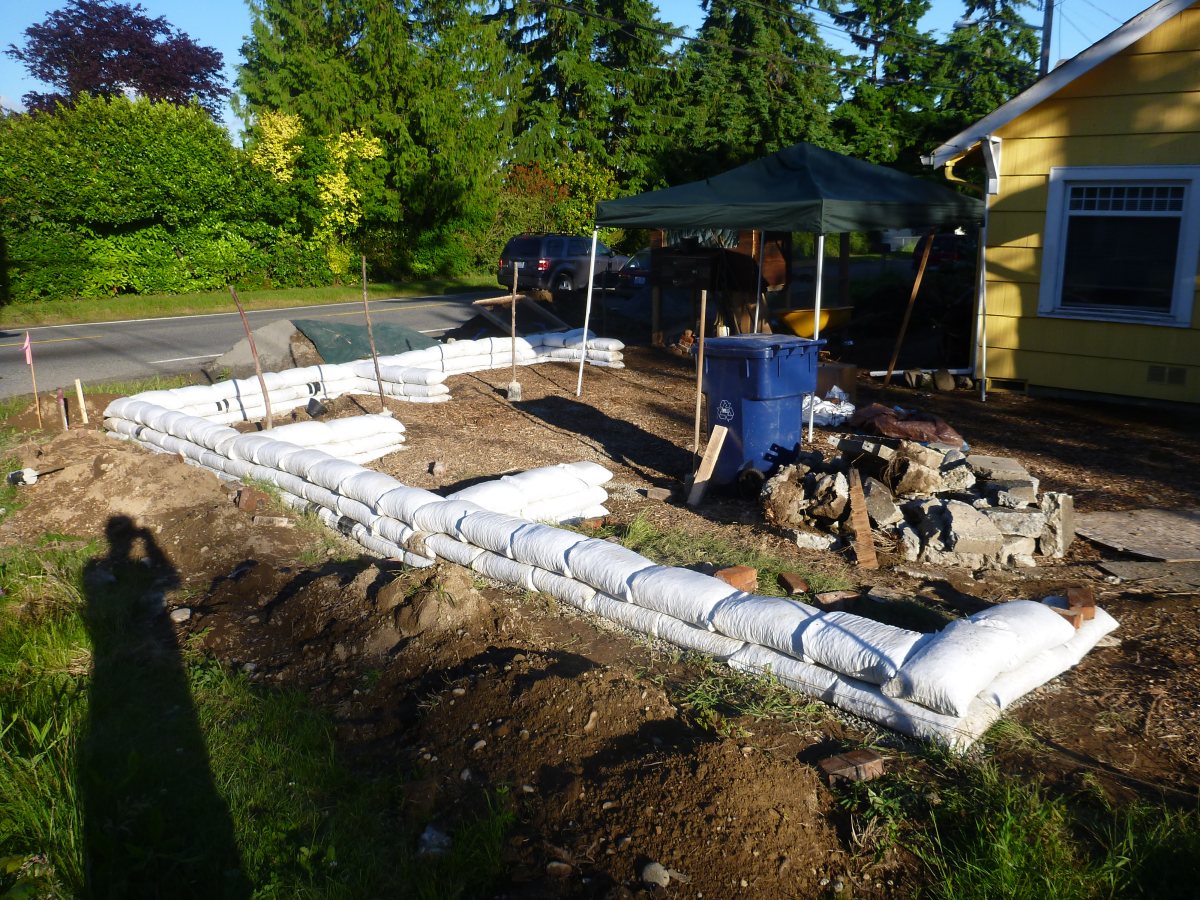 End of Day 1 – We made it 3 rows up! (Don’t worry, progress definitely accelerates after that first day)
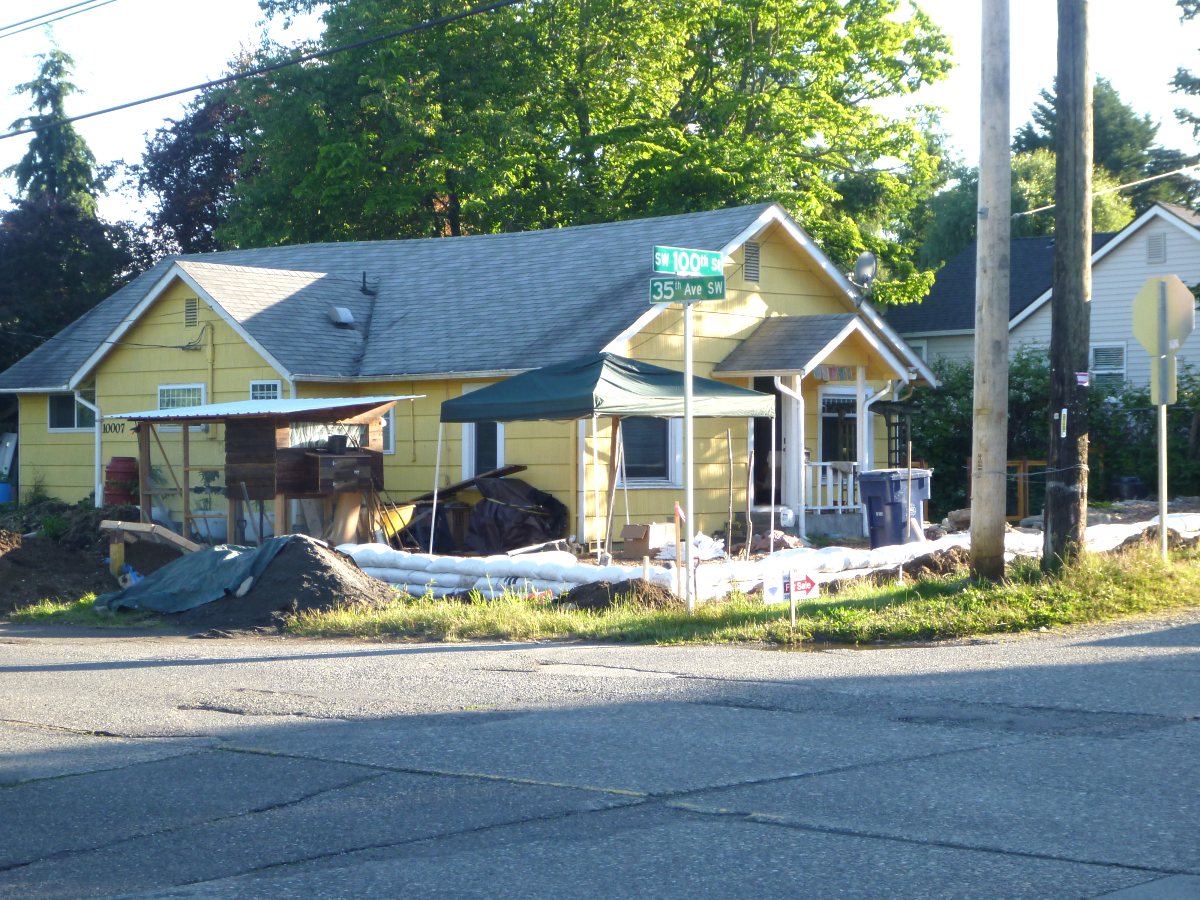 View from across the street after day 1 – Doesn’t seem like much
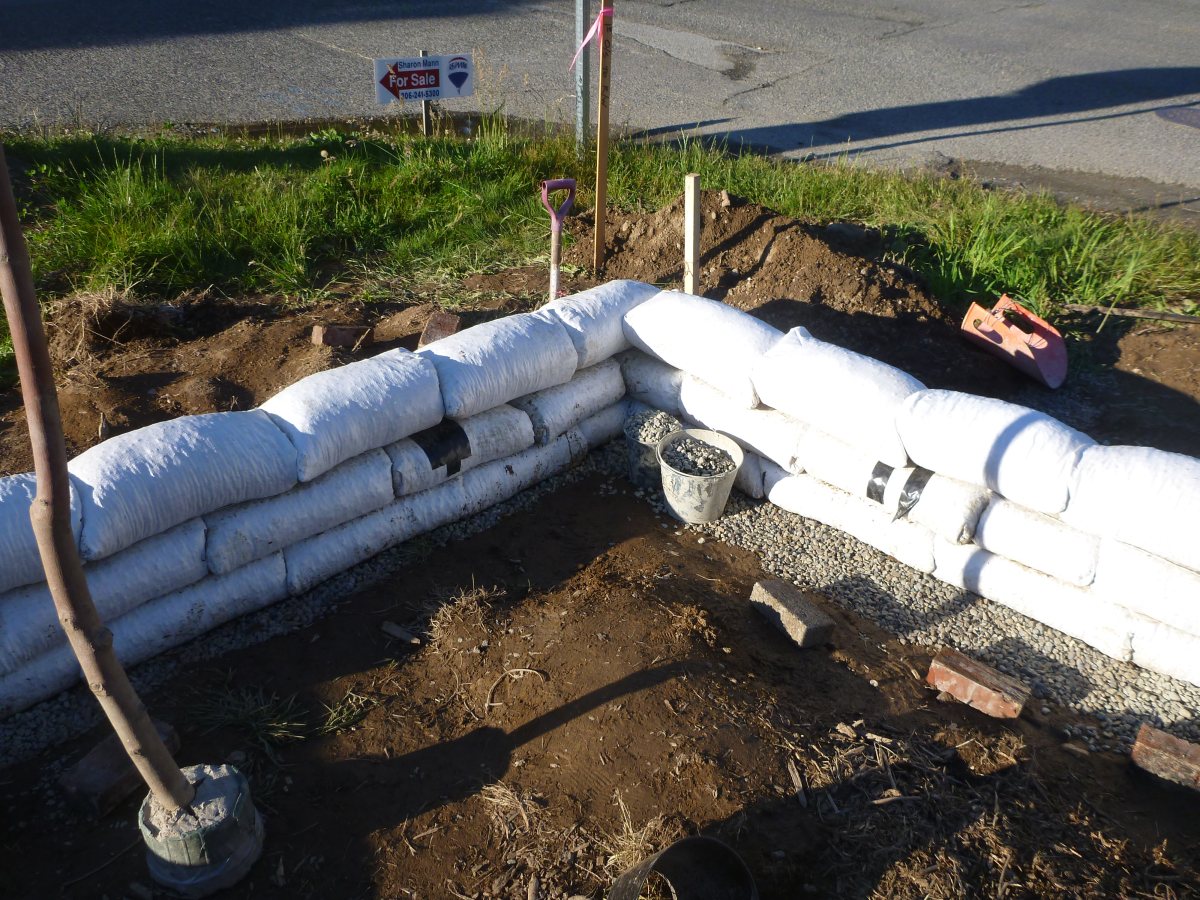 The corner of our growing courtyard
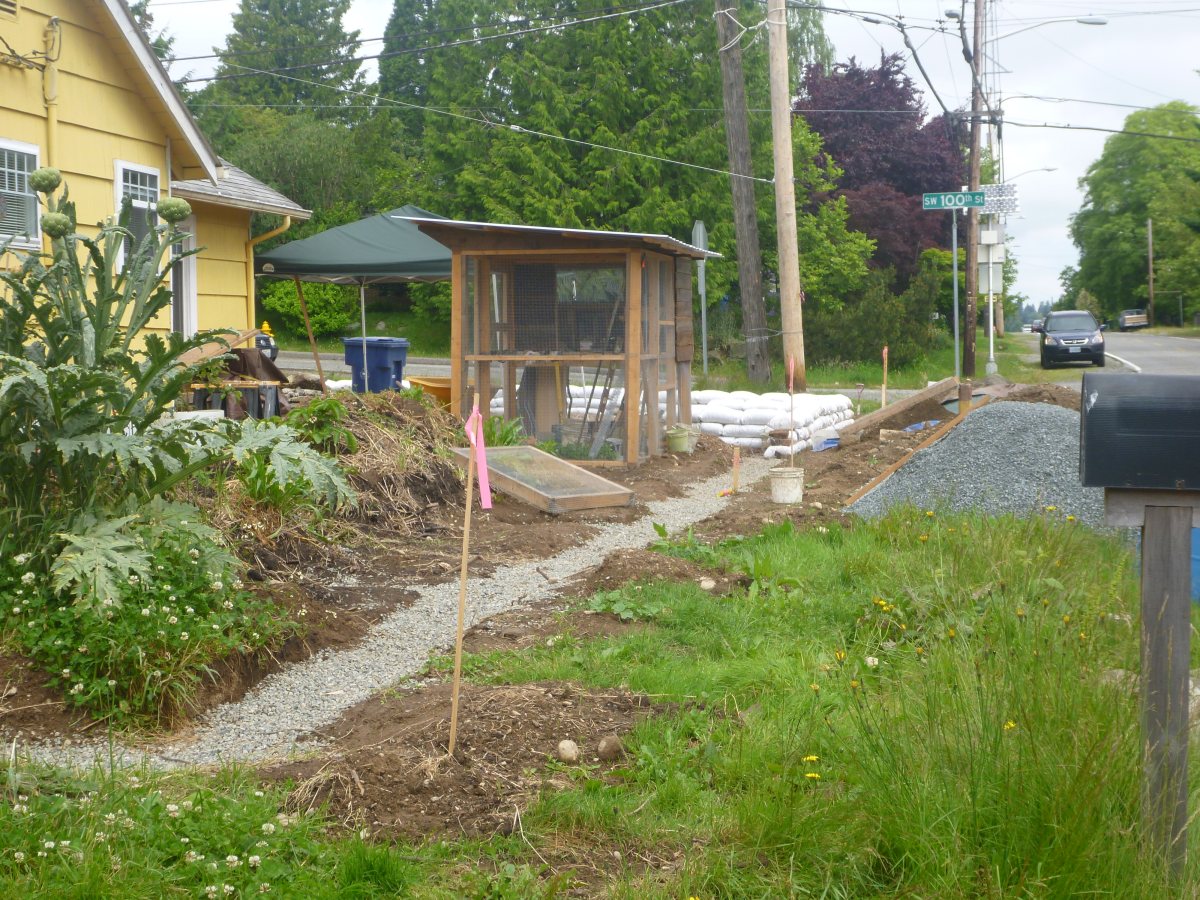 The view from our driveway (looking North) – eventually the wall will continue all the way down the gravel trench in the photo. Because we have decided to do that section of the wall later in the summer, the next photo shows how we’ll connect the two sections.
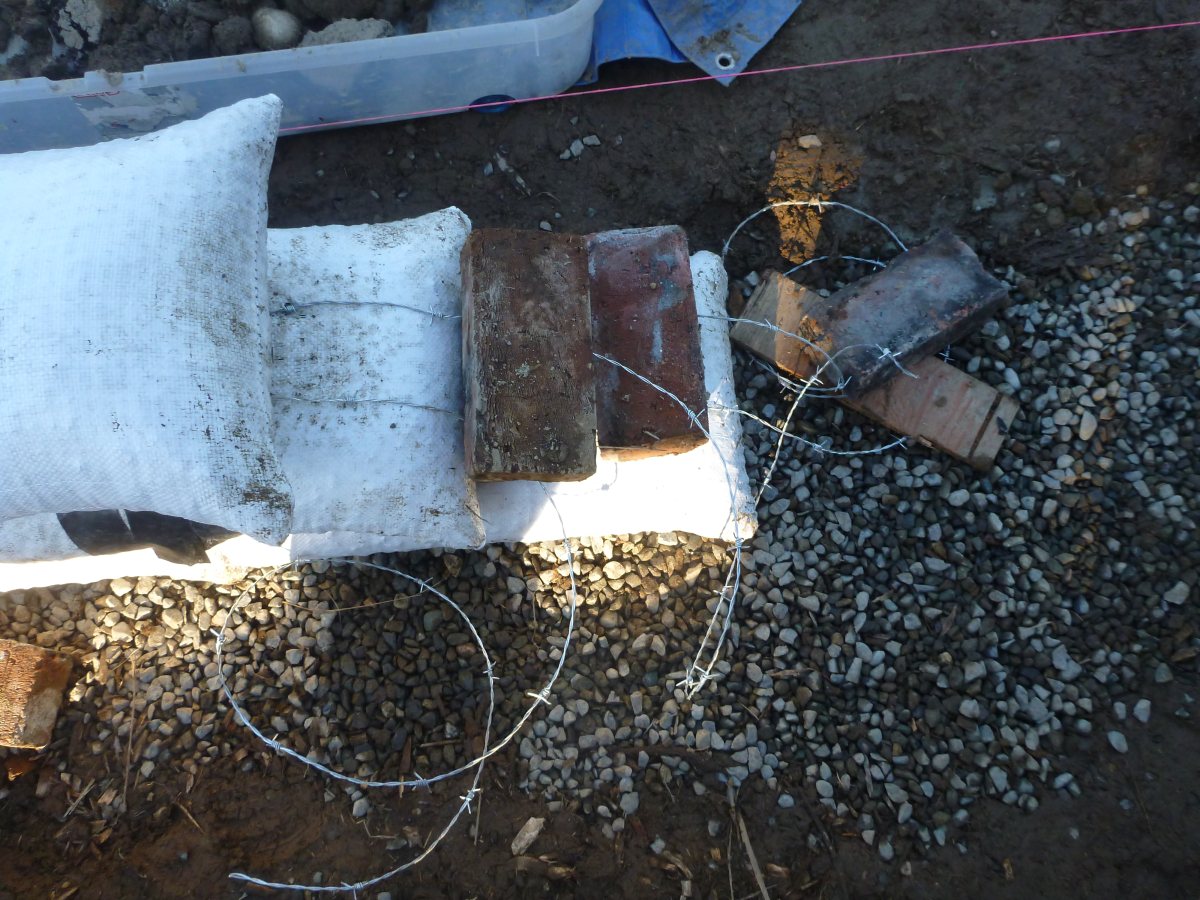 Step Pyramid to Continue the wall later – We leave the barbed wire handing out a couple feet so we can continue the wall here at a later point.
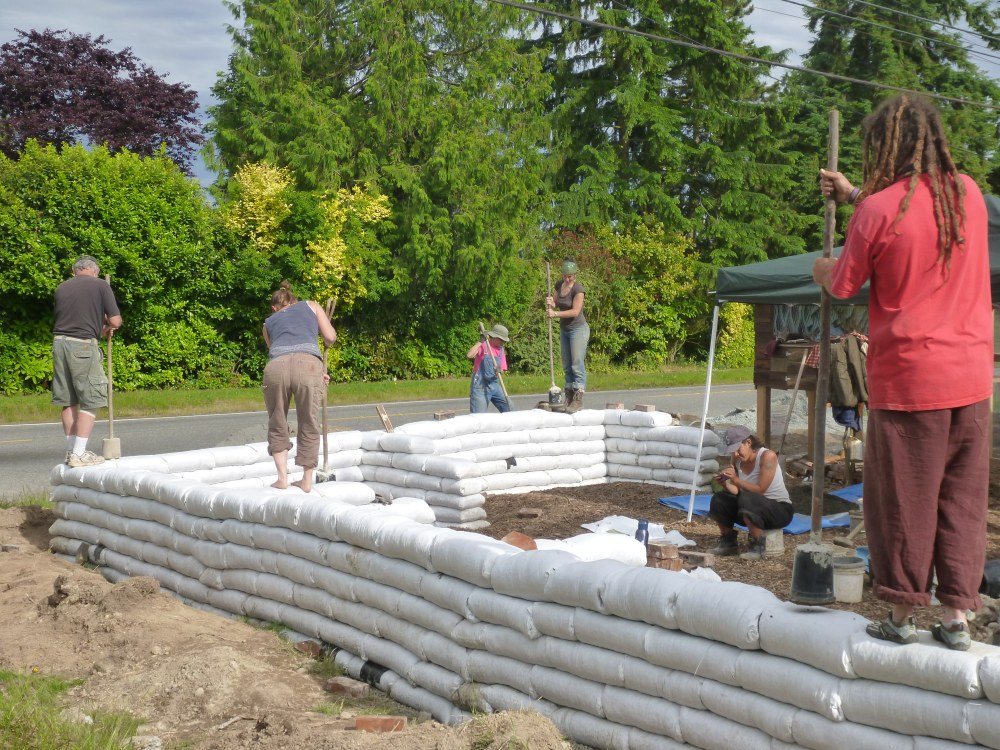 Group Tamping! This was the final height of the wall after the workshop was over – right around 3 feet high.
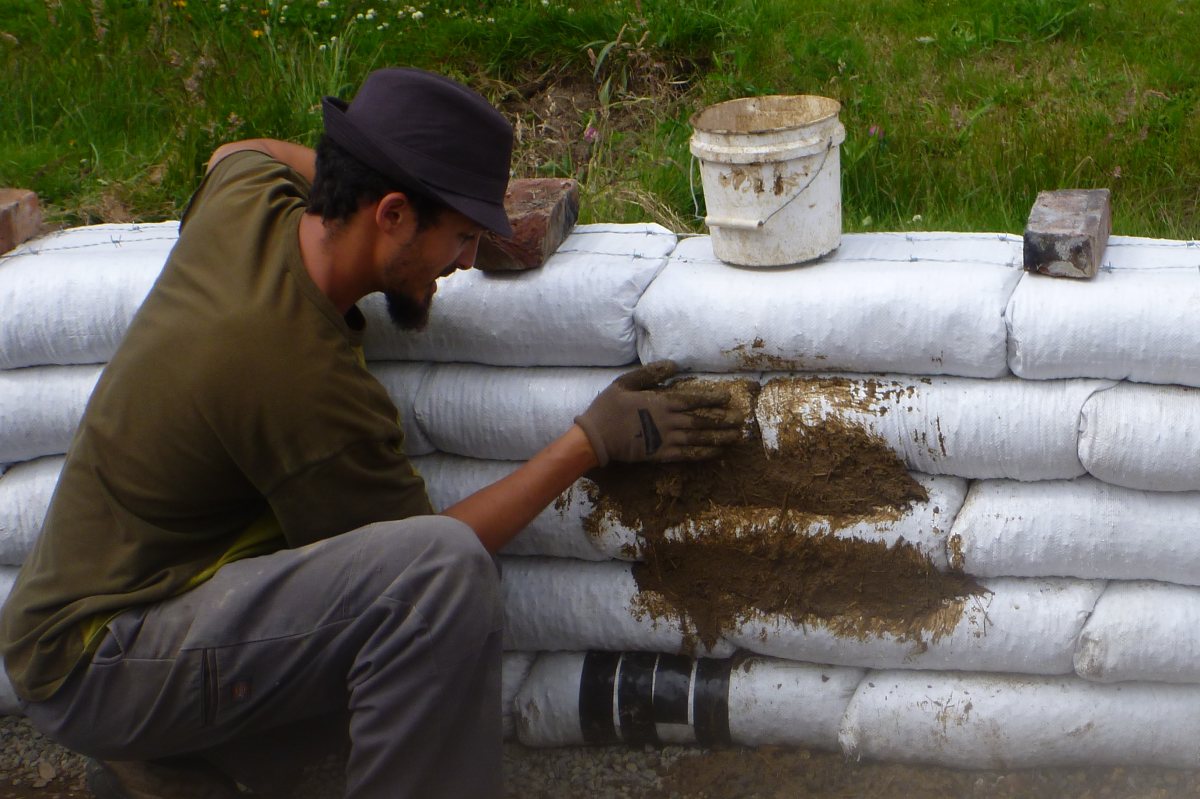 Applying Cob to Earthbags – At the end of the weekend Scott gave a quick demonstration on how to apply cob to earthbags. We won’t be applying cob to our wall, but we’ll be applying a cement stucco in a similar fashion (we’ll just need to add a lathe like chicken wire).
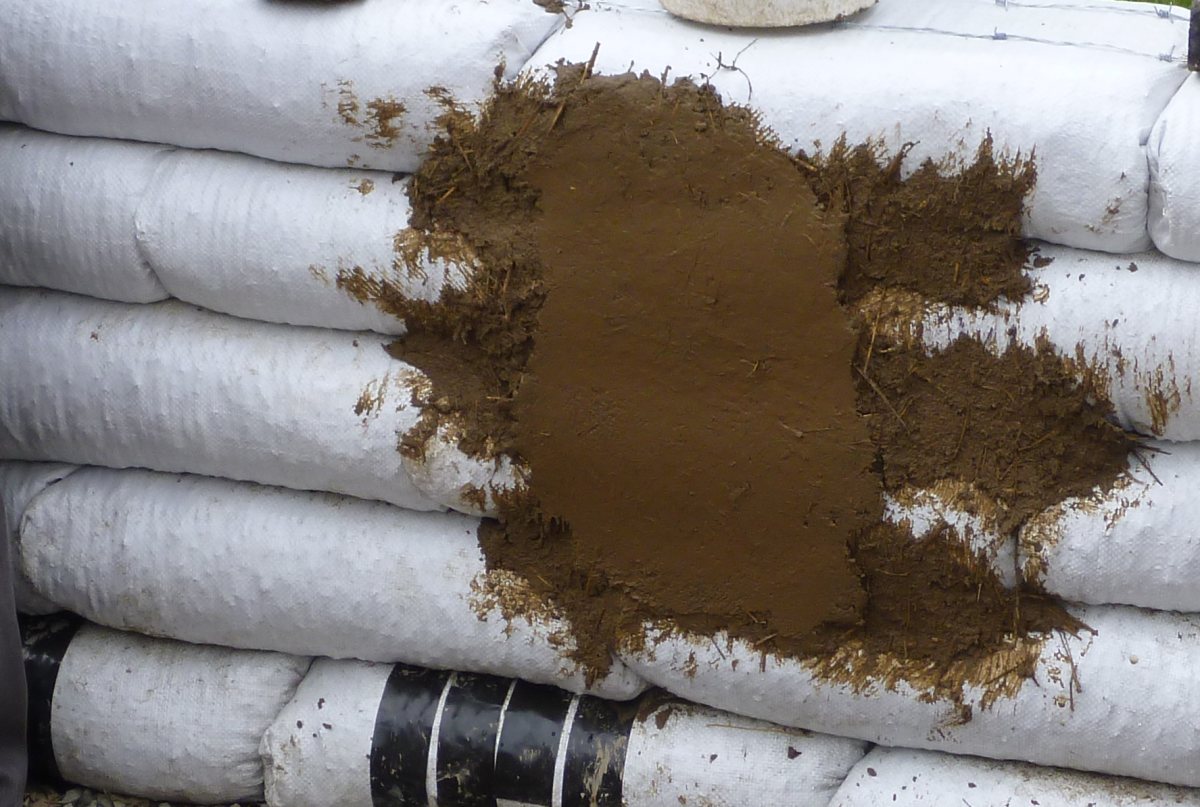 Troweling Cob onto Earthbags – The cob gets troweled smooth just like stucco would be.
